How to Sign in to Excite.com Email Account? Has Excite Email Shut Down?
Excite Mail is a 1995 free webmail email service that also included the voice mail feature. Further, Excite is a collection of online sites and services owned by IAC Search and Media and administered by Mindspark. It provides a range of information, such as weather, news, and more. They also provide customers with a search engine, instant chat, stock quotations, and a configurable homepage.
However, with the passage of time and the advancement of new technology, Excite Email has become yet another email service that is no longer in use and has become a thing of the past.
Yes, you read it right. You may or may not be able to access your excite.com email account, despite following the correct steps to sign in.
So, in order to know how to do the My Excite sign-in, and whether you will be able to access it or not, just keep on reading the article below.
How to Register for an Excite Email Account?
Before you turn your attention to the MyExcite com sign-in steps, you must first learn how to register for the same.
Well, the steps to register for your Excite Email account are given below:
- First off, open the browser and visit the Excite Mail registration page.
- Upon reaching the page, you have to fill in all your details in the General Information section, that includes your name, address, and your primary email address (should be other than excite. com email, like PeoplePC Webmail, Optimum Webmail, etc.)
- Then, enter your username in the Member Name field that you want to use in your Excite email account. This is the username that appears before ‘@’ in your email address.
- Next, you have to type a password for your email account in the Password field and enter it again in the Repeat Password field. Your password must range between 6 to 20 characters and shouldn’t contain any spaces.
- After that, you have to enter a phrase in the Reminder Phrase field. Excite email will send you this phrase to help you remember your password when you forget it.
- Thereafter, you need to fill in some more info about yourself like, your interests, race, etc., in the About Me section.
- Enter the Captcha in the verification field.
- And finally, after you have filled in all the information, click on the Join Now button at the bottom of the page, and your Excite email account will be created.
Steps to Log into Excite Email
The steps to the www.excite.com sign in process are simple and straightforward, which you will know by going through the below-given instructions:
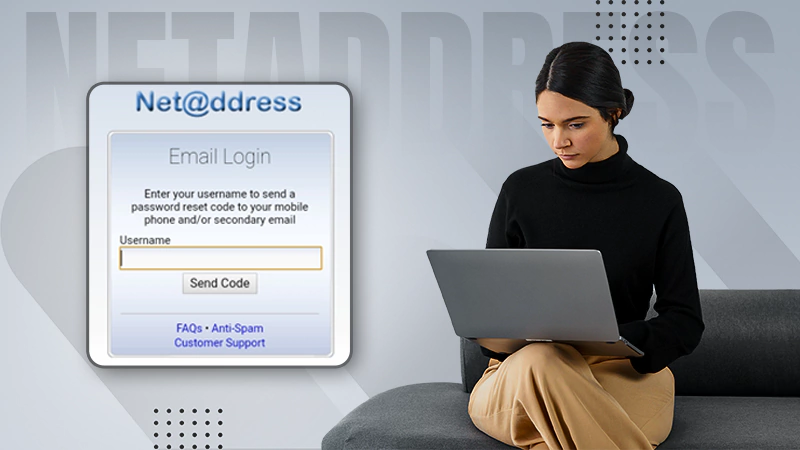
- Begin by opening the browser and going to the excite.com email sign-in page.
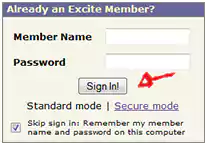
- Upon opening the link, you will see the MyExcite email login form open. There, in the first field, you have to enter your Member Name, which is your Excite email address.
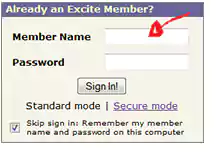
- Then, in the next field, you have to type in your correct Excite email account password.
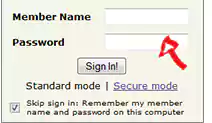
- Finally, after you have filled in the required info, click on the Sign In button. And voila, you can now access your account.
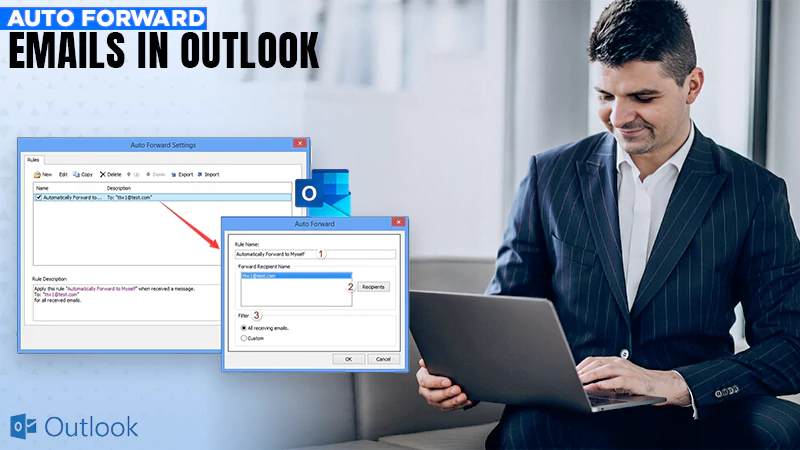
Set up Your Excite.com Email in Outlook
If you like keeping your emails organized in one place, then you might be using Outlook Webmail. Just like any other email account, you can also add your Excite Mail to your Outlook app. It has many benefits, such as easily finding unread emails in Outlook, creating an Outlook distribution list, recalling email features in Outlook Office 365, etc.
If you decide to do so, the process for adding your Excite email account is given below:
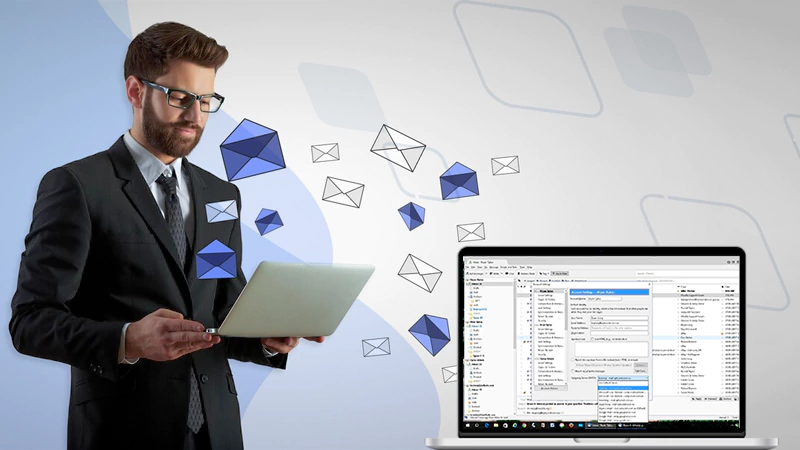
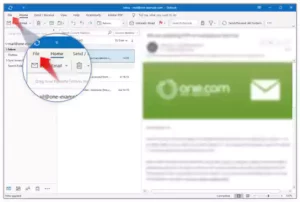
- Launch the Outlook app on your system, and click on the File option from the top menu bar.
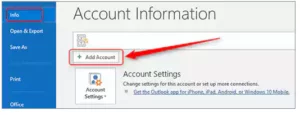
- From the following page, click on the Add Account button from the Info tab.
- On the following screen, enter your Excite.com email address, click on Advanced Options, and select the option to manually set up your account.

- Then, click on the Connect button.
- Next, select POP3 as your Account Type.
-
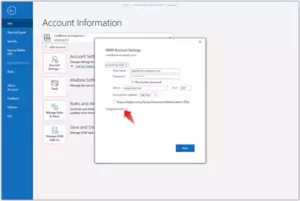
- After that, you will see the email server settings window which is most likely already filled with the information, which you can confirm below:
- Incoming Mail Server: pop3.excite.com
-
-
- Port No.: 995 (require SSL), 110 (no SSL required)
- Username: Your excite.com email address
- Password: Your email account password
-
- Outgoing Mail Server: smtp.excite.com
-
- Port No.: 587 (require SSL), 465 (no SSL required)
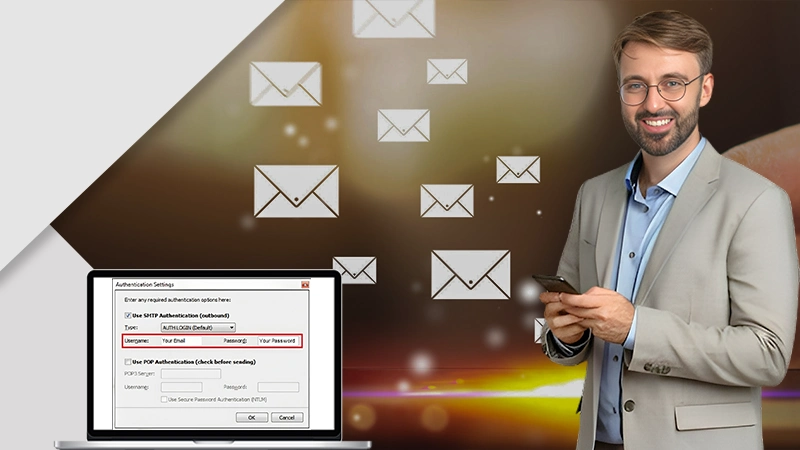
- In the Outgoing Mail section, check ‘My outgoing (SMTP) server required authentication’ and under it, select the ‘Use the same settings as my incoming mail server’ option.
- Once you have filled in the above info, click on the Next button.
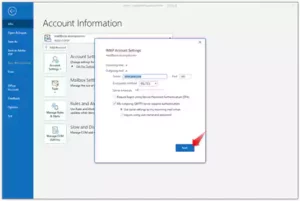
- Finally, enter your password and click Connect. Hit Done and your excite.com email account is now added to your Outlook app.
Use Gmail to Pull Your Email from Excite.com Mail
Do you know you can use your Gmail account to pull emails from your Excite Mail account? Yes, you can have your excite.com emails directly delivered to your Gmail, and the steps stated further let you know just how to do that:
- On your browser, sign into your Gmail account.
- In your Gmail dashboard, click on the Settings icon present in the top right corner and select the See All Settings option.
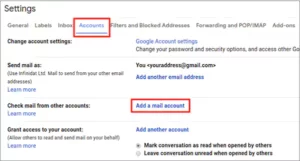
- This will open the Settings window, where you have to switch to the Accounts tab.
- Then, click on the Add a Mail Account in the Check Mail From Other Accounts section.
- Next, you have to enter your excite.com email address and click on the Next button.
- Now, select the Import Email From My Other Account (POP3) option and hit Next.
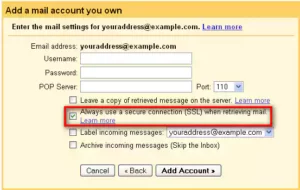
- In the following window, fill in your excite.com email address in the Username field, and its password in the Password field.

- Also, check the Leave a Copy of Retrieved Message on the Server and Always Use a Secure Connect (SSL) When Retrieve Mail options.
- In the POP Server field, enter pop3.excite.com, and select 995 in the Port field.
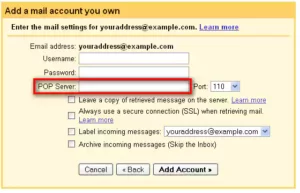
- After you have filled in all the information, click on the Add Account button.
- At last, select the No option on the following window and click Finish.
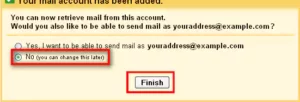
After this, you can now see your excite.com emails in Gmail, and use its features to simplify your email tasks. You can download emails from Gmail, recall an email in Gmail that you have mistakenly sent, and much more.
IMPORTANT: Excite.com Email Has Shut Down
Are you now able to sign into your excite.com email account, or couldn’t you add it to Outlook or pull emails from it? Well, you may be disheartened to know that after years of providing inexplicable services, Excite com email has discontinued its operations since September 1, 2021.
So, if you are looking to do the www.excite.com login for your old email account, but couldn’t access it, even after following the steps given above, then it is only because Excite Mail services are no longer in operation.
Moreover, after the discontinuation of services, you won’t get access to your previous data, unless you have already subscribed to a premium Bluetiehome.com email account before December 31, 2021. But, if you didn’t subscribe, all account data, including emails, email history, contact information, and so on, has been wiped from Excite Email databases and is no longer accessible. Also, emails sent to your Excite email addresses will not be delivered.
However, these days, there are a lot of new email services with cutting-edge technologies that you can use for your day-to-day communications, whether personal or professional. Some of the most prevalent of them are Gmail, Outlook, etc.
Will You be able to Access your Data in your Old Excite Mail Account?
Yes, you can still access the data stored in your old Excite email account.
However, if you have directly requested Excite Mail to deactivate your account or your account has previously been reported for inactivity for an extended period of time, then you cannot get access to your data.
Excite email provider preserves email data for active Excite email accounts for a certain period of time to provide users data who wish to subscribe to the BlueTieHome premium email service after the excite.com email shutdown period (September 1, 2021) has passed.
So, if you want to switch your Excite.com email account to bluetiehome premium email to get hold of your previously stored email data, you can do so by going to the moreinfo.bluetiehome.com page.
Further, if you already switched to bluetiehome premium email, you will still continue to receive emails from your excite.com email addresses until the end of this year, 2023.
With that said, this guide on Excite Email ends here! Hope it was helpful in clearing things out for you in terms of accessing your account, and why you couldn’t access it any longer.
Sources:
- Excite.com Support, Excite.com Email Has Been Retired
- Excite.com Support, After email shutdown, will my email data be immediately deleted?
- Excite.com Support, Email
Read More: