XMission Webmail – Login & Email Settings
XMission can be identified as one of the oldest worldwide Internet Service Providers which still remains. XMission’s headquarters is located in Salt Lake City, Utah, United States, and was founded in the year 1993. As an ISP, XMission provides solutions for Business Telephony Systems, Hosting, and more.
Also, XMission provides free wireless internet for public places, and they offer free accounts for non-profit purposes. XMission provides a webmail service too. Personal Premium XMission accounts have access to xmission.com Webmail. In this article, we are mainly focusing on the XMission Online Webmail.
XMission Webmail Login
To xmission.com webmail login, go through the following simple steps.
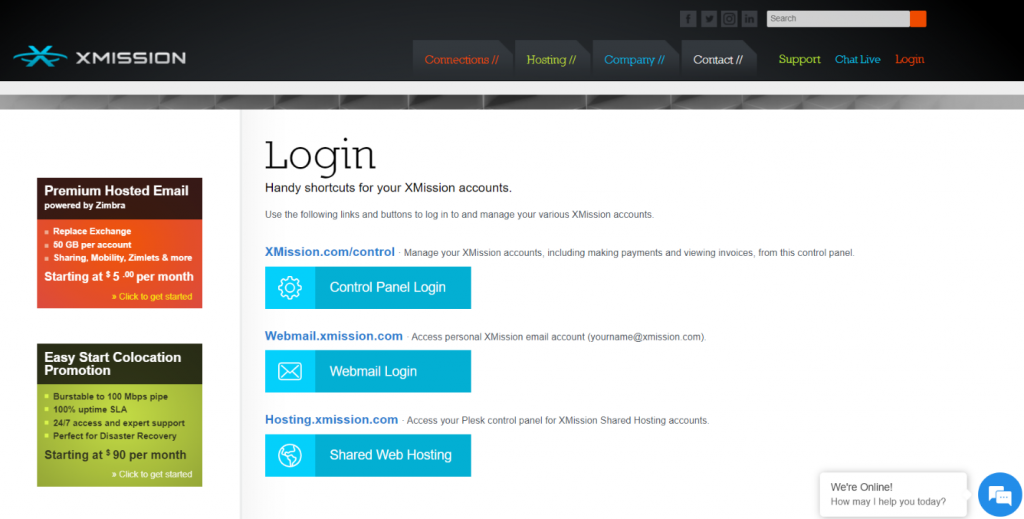
- Open your browser and go to the Xmission main website through xmission.com.
- You will see there is a login option on the top right corner of the page and click it.
- Then you will be directed to the login page and there you have three options. Select “Webmail Login”.
- Next, the login portal will be opened.
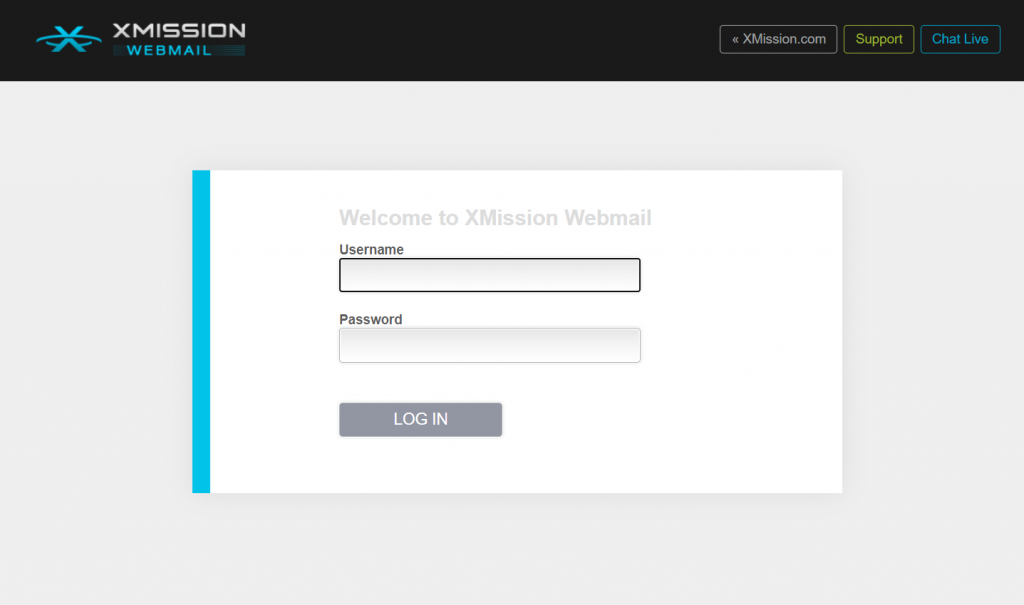
- Enter your username and the correct password of your Xmission account.
- Click on the “LOG IN” button below them.
If you entered valid credentials of your account, you will be logged in to the webmail account.
Set up Xmission Webmail on Android
- Open the Gmail application and go to settings.
- Tap on the “Add Account” option.
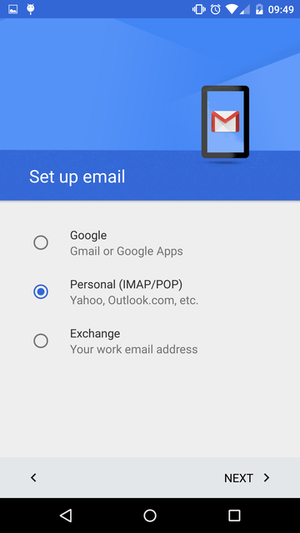
- Select “Personal (IMAP/POP)” as the type of account.
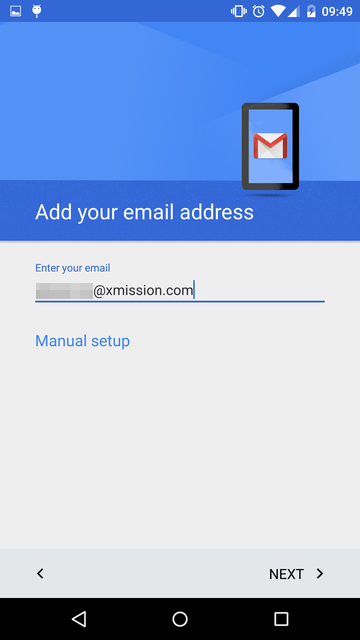
- Enter your Xmission email address on the next page and go to the “Manual Setup” option below that.
- Select “Personal (IMAP)” as the account type and tap “Next”.
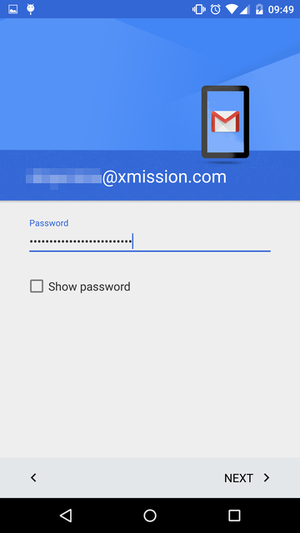
- Next, you have to enter the password of your account and again tap “Next”.
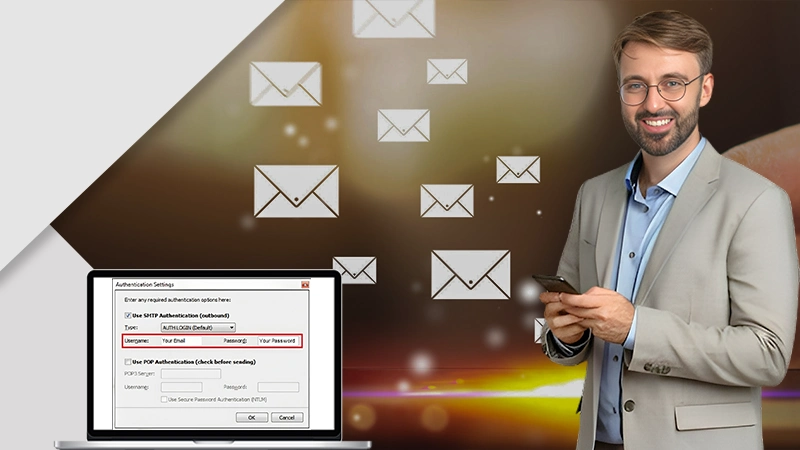
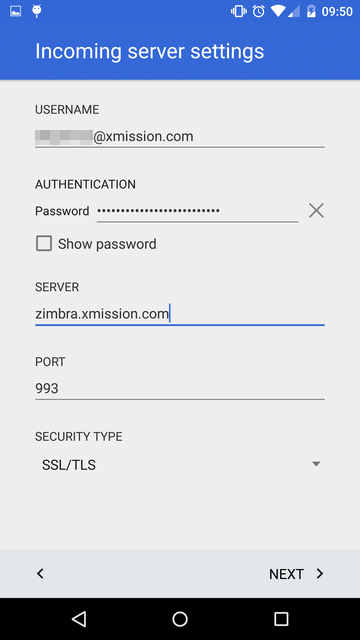
- Then the Incoming Server Settings page will be appeared and add the following settings.
- Server – Enter “mail.xmission.com”
- Port – This will be automatically set to “993”
- Security Type – Select “SSL/TSL” from the drop-down menu
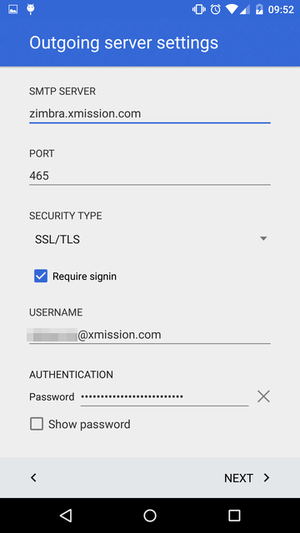
- Tap the “Next” button and the Outgoing Ser Settings page will be opened. Do the following settings.
- Server – Enter “mail.xmission.com”
- Port – This will be automatically set to “465”
- Security Type – Select “SSL/TSL” from the drop-down menu
- Username – Enter your preferred username
- Tap “Next” and set the “Sync frequency” and other syncing settings.
- Again tap “Next” and there you should enter your Account name and Your name. You can use your preferred names.
- Tap “Next” and now you are all set.
- Wait till the email data are being loaded and you can use the XMission Webmail account on your phone.
Set up Xmission Webmail on Mac
- Click on the “Mail” icon on the menu bar and select the “Add Account” option.
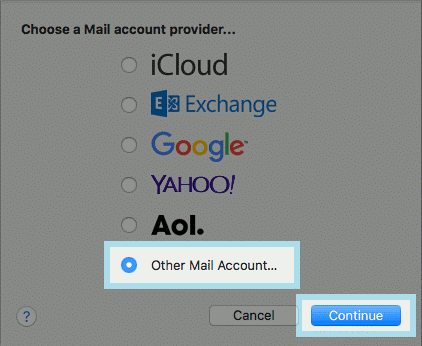
- In the Mail Account Provider window, select “Other Mail Account” and click “Continue”.
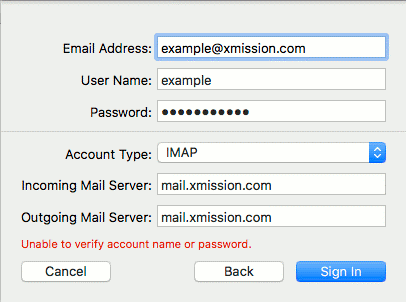
- Enter your name, email, and password, then click “Sign in”.

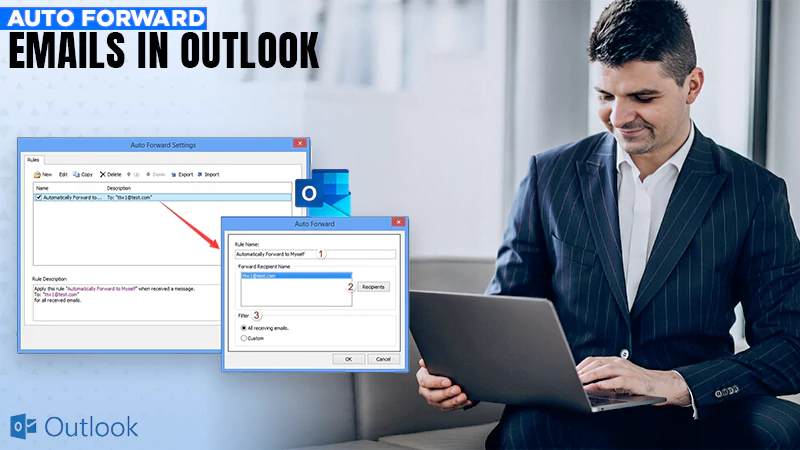
- Do the settings as in the following figure.
- Click the “Sign in” button.
- Now you have added the Xmission account to your device.
XMission Webmail Help
XMission Webmail Bulk Delete
- Log in to the Xmission Webmail and go to the mailbox.
- There you will see a check box at the left corner of every message. Select all the messages you want to delete.
- There is a “Delete” button on the bottom and click it to delete all the selected messages.
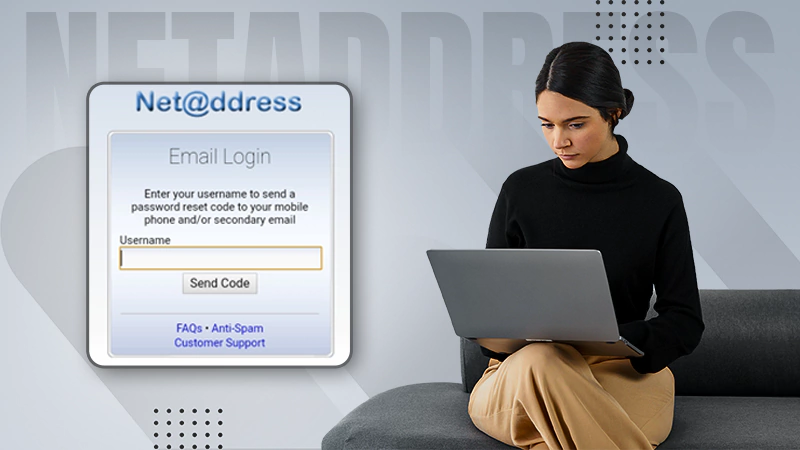
XMission Webmail Forgot Password
- Go to https://xmission.com/control.
- On this login page, you can see a “Forgot Password” option and click it.
- Enter the username in the given field and click “Reset Password”.
- You will receive an email from XMission, and you can reset the password from the link they have sent.
XMission Webmail Change Message Status
-
- Go to the mailbox.
- Find the message you want to change the status of.
- Check the box at the left corner of the message.
- Select the status from the “Mark as” drop-down menu.
Read:
Aristotle Webmail – Login With Thunderbird
Latech Webmail – Login, POP3 Email Settings