MIS Webmail Login | How To Login Into mis webmail?
MIS Webmail: Hope you know about the Queensland state situated in Australia. The most special thing related to that state is free education. All the schools situated in Queensland state are supplying free schooling to the students relying on the funds supplied by the Australian authorities and government.
Managed Internet Service (MIS)
The Managed Internet Service also informally known as QLD or Queensland. MIS Webmail or MIS EQ Webmail is offered by the authorities in Oz as to the permit to the students in Queensland to have their education free of charge. In this text, we are mainly talking about the MIS Webmail QLD education with a simple guide and support to use MIS Webmail.
MIS Webmail
MIS Webmail is an email service provided by the Queensland Government (Department of Education) and uses the cloud-based Microsoft Outlook Web app (OWA).
It allows you to send and receive emails and use calendars, manage your contacts and tasks, and access your files.
This allows users to use webmail services to access all Office 365 and Exchange Server content, including SharePoint sites, on the internet.
It allows users to sign in to multiple mailboxes and access mail, calendar, contacts, tasks, and notes. It provides the same functionality as the Outlook desktop app. The webmail supports IMAP, SMTP, and POP3 protocols.
MIS EQ Webmail
MIS EQ Webmail provides many learning substances including lectures textbooks and extra materials for the students in QLD and this is a well-secured platform.
This webmail provider provides email accounts in the eq.edu.au domain for MIS users.
To access the MIS eq.edu.au webmail account You may visit the outlook web app login portal via https://owa.eq.edu.au.
EQ Webmail Login
You have got several methods and several login portals for the MIS webmail student login process. Here is the first approach.
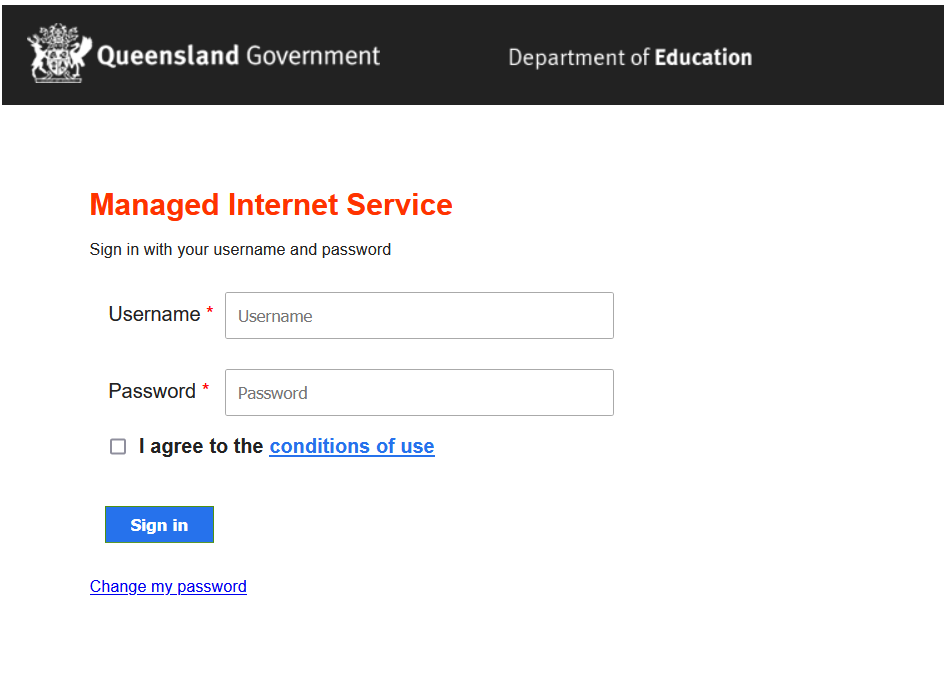
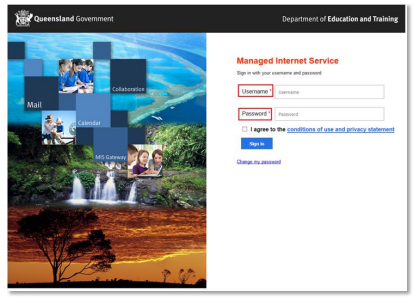
1. Open your browser and visit the URL https://webmail.eq.edu.au.
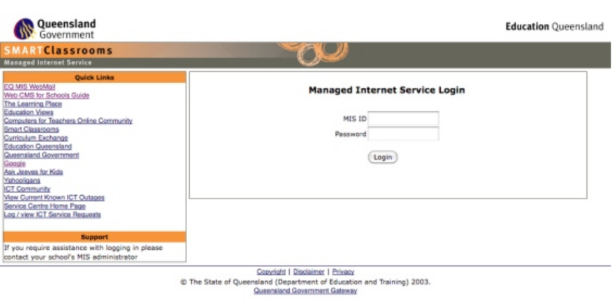
2. Now you are on the managed Internet services login page and enter your MIS Identification number in the first field.
3. Then enter the password of your MIS account inside the password field.
4. Click the “Login” button and if you have entered the legitimate credentials of your account, you will be directed to your webmail account.
Also, you can access the Webmail by outlook web app (OWA) thru the URL https://owa.eq.edu.au.
Here what you have to do is –
1. Enter the username of your MIS account.
2. Enter the correct password for your MIS account.
3. Click on the “Sign in” button.
MIS Webmail Login
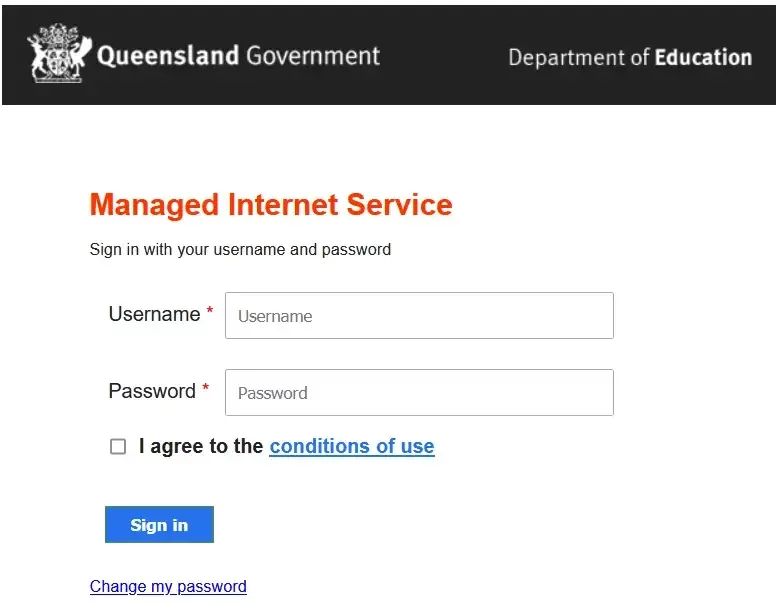
Apart from the above approaches, you can visit the cooperate webmail login page at https://webmail.dele.qld.gov.au.
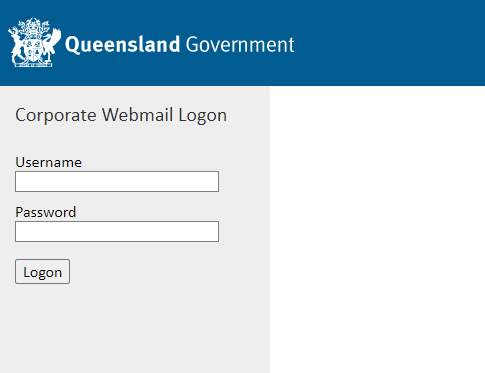
Here also you must go through the same steps –
1. Enter the username of your MIS account.
2. Enter the correct password of your MIS account.
3. Click on the “Login” button.
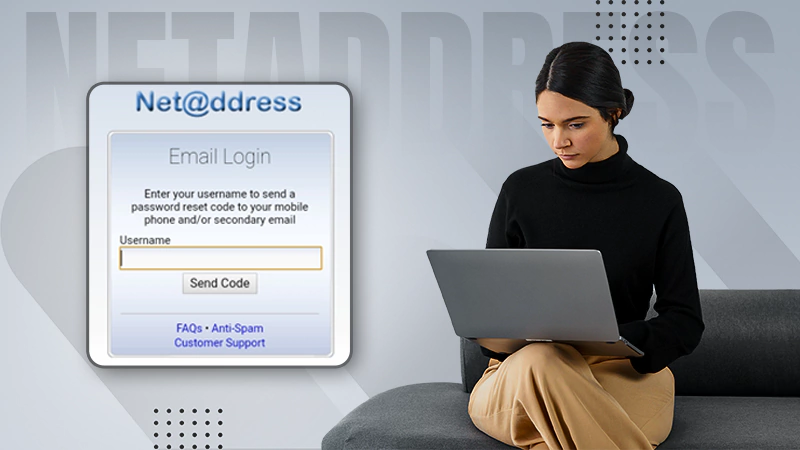
MIS Webmail Forgot Password
In case you forgot the password of your MIS account, you can reset it by following these steps.
1. First, go to https://account.qld.gov.au/maintenance/forgottenpassword.html.
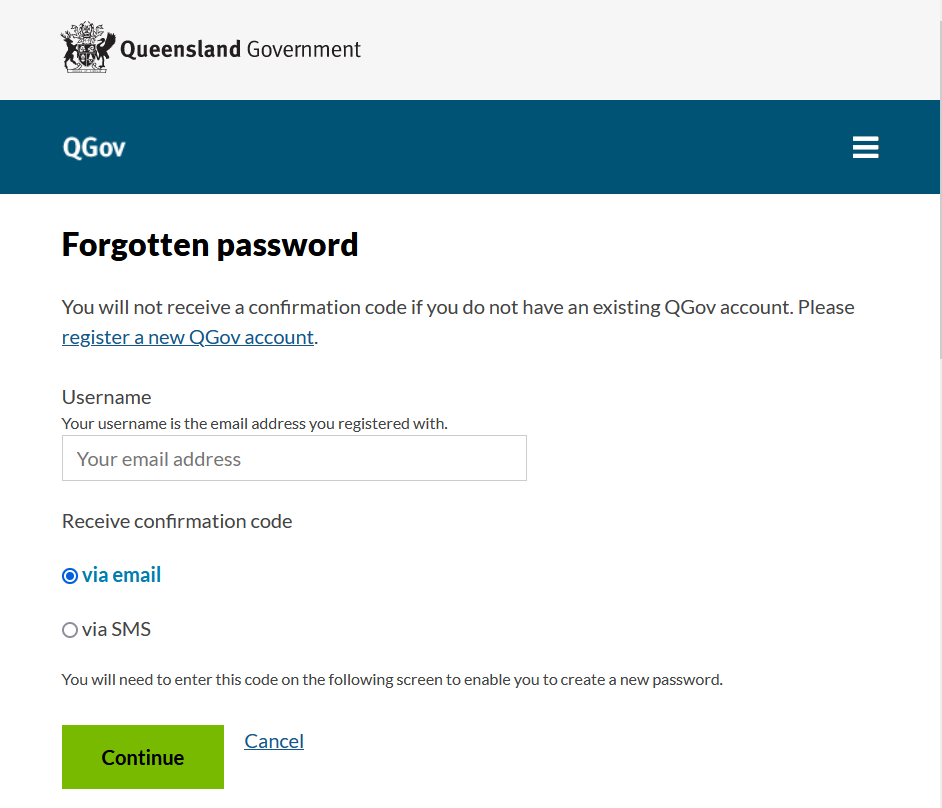
2. In case you do not have a QGov account, you must go to the “register a new QGov account” and create one. Otherwise, you will not receive the confirmation code.
3. Also, you must enter your Learner Unique Identifier code with the initial correct password of your MIS account.
4. In case you do not know about LUI, contact the school or academic institute.
5. To recover the password, you may use email or SMS. After clicking the “Continue” button, you will receive either an OTP via a text message or a password reset email.
You could reset the password by entering the OTP or going to the password resetting URL.
MIS Webmail Password Change
1. Go to the MIS Outlook Web App login page via https://owa.eq.edu.au.
2. Click on the “Change my password” option.
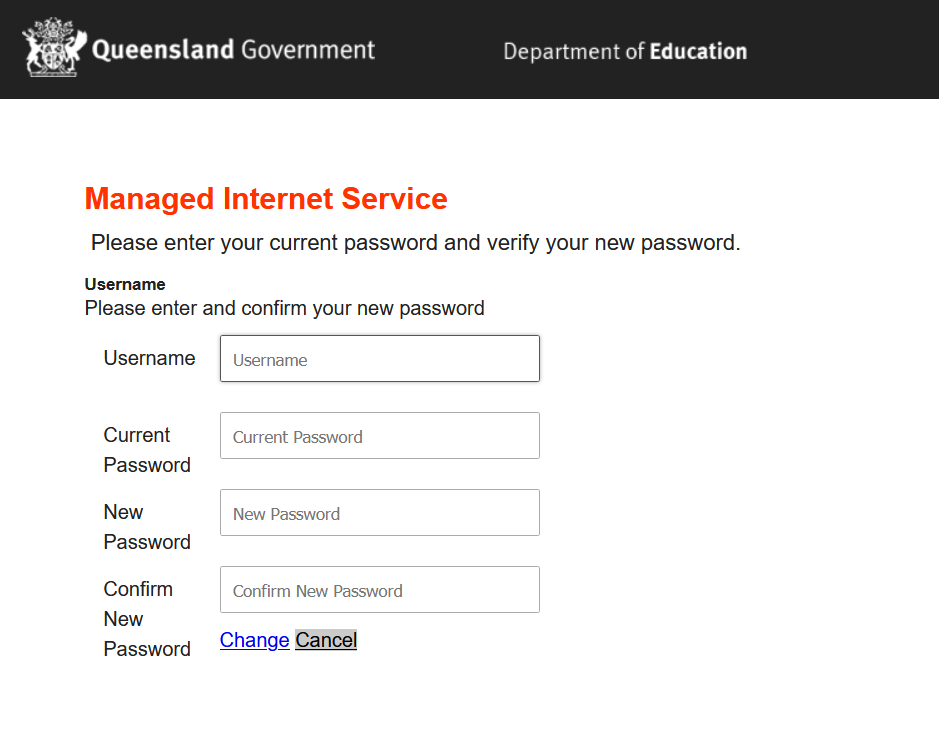
3. Enter your username, current password, new password, and enter the new password again to verify it.
4. Click “Change” to change your password to the new one.
MIS Webmail and Office 365
All corporate and state school staff and students of EQ School can now download Microsoft Office 365 to their personal home computers and mobile devices for free.
Download, update to, and install Office 365
1. Open your web browser and go to http://office.com.
2. In the top right corner click on “Sign in“
3. In the Username field, type in your EQ (e.g. jhon@eq.edu.au) or QED (e.g. jhon@qed.qld.gov.au) email address and click “next“.
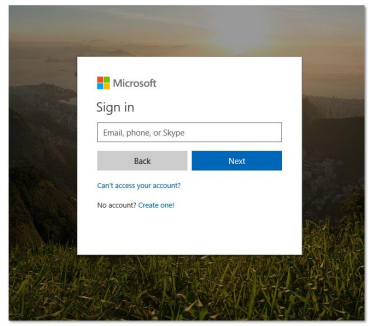
4. You will be prompted to enter your EQ account username and password on the online authentication page.
5. Type your username and password and click on Login.
6. In the top right corner, click on the “Install Office apps” then “Office O365“
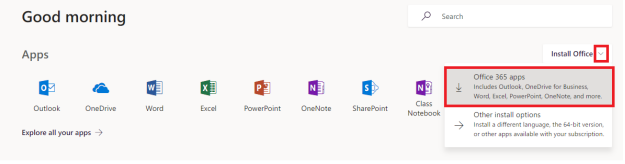
7. Office 365 will start to install onto your computer, wait for this to finish.
MIS Outlook Webmail
Office 365 allows the MIS students and staff to access the Outlook app and then MIS webmail. You only need to install the Outlook app when installing Office 365.
If you have already installed the Outlook app then follow the below steps.
MIS Webmail Outlook Login
Follow these steps to login your webmail account using the Outlook app:
1. Open Outlook and click “File” in the top left corner. Then select “+Add Account” in the right pane.

2. Enter your email address in the format “jhon@eq.edu.au” and select “Connect”.
3. Select the Office 365 option.
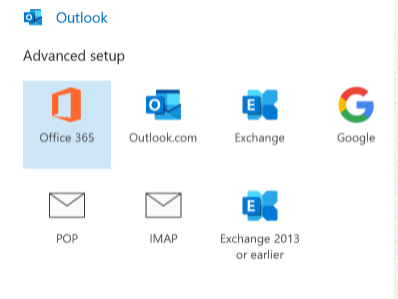
4. A windows security prompt will appear. Enter your email address in the format “jhon@eq.edu.au” and your password. Be sure to check the box “Remember My Credentials”.
Note: This box may appear several times. Fill it out each time and check the box until it stops.
5. Your account has now been added. It may take several minutes for your email and calendar items to appear.
Setting Up MIS Webmail on iPhone
To setup the MIS webmail on iPhone, Go through the following steps:
1. Open Settings and go to “Mail, Contacts, Calendars”.
2. Tap on “Add Account”.
3. Select “Other” as the type of account.
4. Next, go to the “Add Mail Account” option.
5. Right here you need to enter the username, your MIS email address, and the password for your MIS account.
6. Then tap the “Next” button.
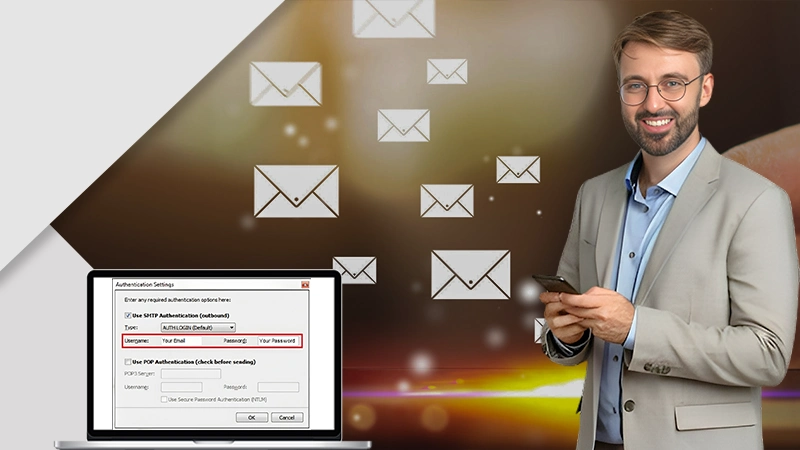
7. You will be requested to enter the server information in the next window. Enter the following in relevant fields.
- Incoming mail server – Type “imap.eq.edu.au” here.
- Outgoing mail server – Type “smtp.eq.adu.au” here.
- Username – Type the Identification number of your MIS account.
- Password – Enter the MIS account password.
8. After all, tap “Next”.
At this point, iPhone may fail to confirm the settings and give you the following pop-up.
9. Tap “Yes” and after that, your iPhone will confirm the settings you have entered.
10. After the verification, set the following are ON.
11. Tap the “Save” button and complete the setup.
How to use the EQ Webmail?
Here we are discussing how to use the EQ Webmail.
Sending and Managing Emails
Composing an email
- First, log in to the EQ Webmail by using one of the above methods.
- Then you will see a “Write” button on the top of the screen. Click that button.
- Then the compose message window will be opened.
- Here you can see two fields named to and CC. You can type the email address you want to send the message in the “to” field and the email addresses you want to send carbon copies in “cc”.
- To add an email address, you can click the plus sign in the top left.
- Enter the subject of your message in the “subject” field.
- Now enter your message in the message area. Here you can also format your message with the formatting options you can see at the top of the message area.
- After setting up your message you can either use the send option on the top to send the message now or you can use the save button to save the message as a draft.
Sending attachments with email
- Visit compose message window.
- Then you will see the “Attach” button with a file clip. Click on that button.
- After clicking a new window will pop up and there you have to locate the file or files you want to attach to the email.
- After selection, once you click “Open” you will see those files are attached to the email you are currently composing.
- Even after that if you want to add more attachments, you can repeat the above process.
- Also, if you want to eliminate an attachment you have already attached, you could click the “Remove” option next to the attachment you need to eliminate.
Working with Address book contacts, and Groups
Creating new folders
- Login to the Webmail.
- After logging into the webmail, you can see there is a drop-down menu on the top-left corner. Click on that icon and pick out the “New folder” option.
- After that, the “Create New Folder” window will be opened, and enter the name of the folder you are creating, under “New folder name“.
- Below that, you can pick the parent folder of the folder you are creating and then click the “Create” button.
- If you want to create the folder at the highest level, you can pick out your email under the “Create as a subfolder of” menu.
Moving messages between the created folders
- First, visit the folder Which contains the message you want to shift to another folder.
- Find the message and simply click and drag that message to the folder you want to move it to.
- After this process, you will see your message has been moved to the new folder.
Renaming the created folders
-
- Just open the webmail and select the folder you want to rename.
- Click on the rename option with the pen icon on the list of folders.
- The “Rename folder” window will be opened and enter the new name.
- Click on the “Rename folder” button. After that take a look at the folder list and you will see the folder has been renamed with the new name.
Deleting folders
-
- Pick the folder you want to delete from the list.
- Then click the delete icon on the top of the folders listing and confirm.
Important: this will cause deleting all the emails in that folder.
Accessing the address book
-
- Just after logging in to webmail, you can see an address book option at the bottom of the sidebar on the left aspect of the screen.
- Click that address book option and then you can access your current address book.
Adding contacts to the address book
-
- In the address book click on the new contact button or the “+” sign.
- Next, you have to enter the contact information of the new contact.
- After entering all the required information click the save button at the bottom.
- Now you have successfully added the contact to your address book.
Creating a contact group
-
- Go to the address book and click the “New group” button.
- Then select all the contacts in your address book which you need to feature in the new group. For that, you could search for contacts using the search box.
After selecting all the contacts, you could create a new group by clicking on the “Create group” button.
Managing contact groups
-
- Go to the address book.
- Select the group and click on the “Manage group” button.
Then you can add or remove group members. do the changes to the group member list and after all click the “Save changes” button to save all modifications you have done.
Deleting contact groups
-
- Go to the address book and select the group you want to delete.
- Click the delete option.
Deleting a group will not cause the deletion of any of the contacts in it.
EQ /MIS Webmail Support
For staff, contact the Service Centre on 1800 680 445 if you have any issues with Office 365 or a webmail account. Students should contact their school technician or MIS administrator.
You can also contact the EQ webmail support via 0423677767 SMS Relay or 1300555727 voice call number.
MIS Webmail Service Center
Here is the information of IT Service center of School Profile –
- Centre name – IT Service Centre (5777)
- Officer-in-charge Title – Director
- Center type – Administrative Unit (Other)
- Website – qlddet.service-now.com/sco/
Contact details:
- Actual address – Level 9 Education House, 30 Mary Street, Brisbane 4000
- Postal address- PO Box 15033, City East, 4002
- Telephone – 1800 680 445
FAQs
1. How to Reset Your MIS Webmail Password?
You can reset your MIS Webmail password by going to the MIS Outlook Web App login page via https://owa.eq.edu.au.
You will be prompted to enter your MIS Webmail username, current password, and the new password, then click ‘Change.’
You will see a successful message for your new password, which you must enter to access your MIS Webmail account.
2. How Are the Colours for MIS Webmail Chosen?
Outlook uses color-coding to show the state of account settings.
- Green means you are connected.
- Yellow means you are not connected.
- Red means Outlook doesn’t have the correct server settings and can’t find the server.
If you mistype the server name or the username or password, this can happen. If your outlook account isn’t set up correctly on the server, it can also happen.
If your Office 365 account is linked to an on-premises email system, you can log in to Outlook Web App (OWA) to access your Exchange information. You may be able to access your application by going to the following address: https://owa.eq.edu.au.
4. How to View MIS Webmail Last Year Mail?
In Outlook, you can only view some limited parts of mails (the newest ones only). So, if you want to view all your mails, you can contact your webmail provider and request that they export all your emails to PST. This way, you will have all your emails in Outlook.
5. How to Use MIS Webmail?
Microsoft Outlook Web App allows you to access and use your MIS webmail. It also allows seeing contact, calendar, and OneDrive data from any device. It is a modern online email service that you can access via your web browser. Outlook Web App does not have all the features of the Outlook desktop app, but you will be able to do most of your Outlook email tasks from a web browser.
Conclusion
Queensland MIS webmail is offered to scholars who are living in Queensland, Australia to offer education free of charge. In this article we were focusing on how to use this webmail, what do we able to do with this webmail. This will be helpful to the readers to work with their MIS webmail QLD education accounts.
Read More :
- How To Do Optusnet email settings?
- How to Login Into ATT Email?
- How to login into TWC Webmail?
- How to login into Godaddy email login?