How to create an Email group in Outlook – Windows, Mac, Office 365 & Web
Do you often need to send a load of similar emails to a bunch of people repeatedly? Isn’t it a tiresome task, to type out the whole email over and over again for different individuals, and then send them individually? Well, you need not to go through that torture anymore. You can create email groups in Outlook to cut out this laborious task.
Contact groups in Outlook let you send the email you want to send to a group of people, at once, the same as distribution lists in Outlook. Yes, with one single click, you will be able to send the message to all your contacts included in that group.
So, if you are excited to know how to create email group in Outlook, then jump right into the article below.
How to Create an Email Group in Outlook for Windows?
If you are using Outlook on your Windows system, and want to know how to create email group in Outlook, then you landed in the right section.
Making a contact group makes it easier to share emails to a large number of recipients at once, as described in the intro of the article itself. So, if you are excited to know how to make a group in Outlook, follow the instructions stated below:
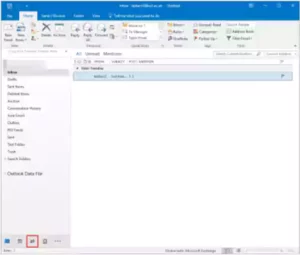
- Open the Outlook app on your system.
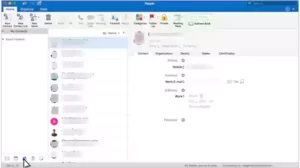
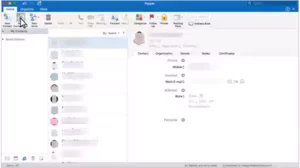
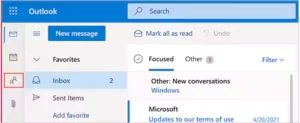
- After your Outlook opens, click on the People icon present at the bottom of the left navigation panel.
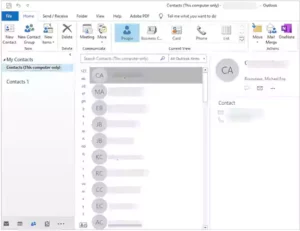
- Choose the folder in which you wish to save the contact group under My Contacts. The new contact group is usually saved in the Contacts folder.
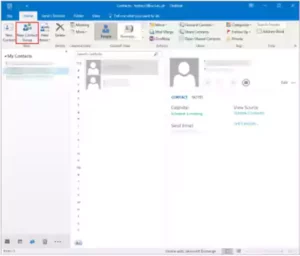
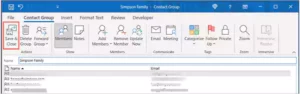
- Then, in the Home tab, click on the New Contact Group option.
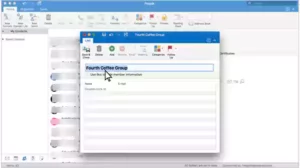
- This will open the Outlook Create Email Group window, where you have to enter the name of your email group in the designated field.
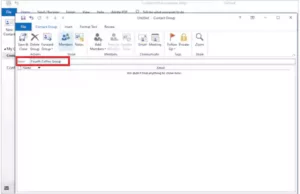
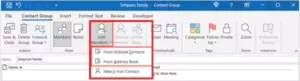
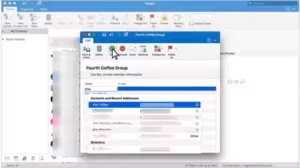
- After that, click on Add Member, and select one of the following options to add members to your email group:
- Outlook Contacts
- Address Book
- Manually entering new email contact information
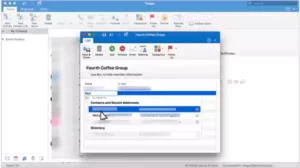
- If you have selected either of the first two options in the previous step, then a window will open where all your contacts will be listed. To select multiple contacts from the list at once, press and hold the CTRL key on your keyboard, and click on the contacts you want to add to the email group. However, if you have selected the last option, then fill in your contact details in the window that opens and add them to the group.
- Next, click on the Add Members button to add the selected recipients to your email group, and then click OK.
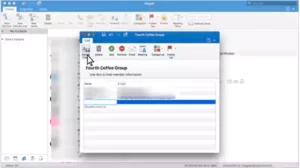
- Finally, click on the Save and Close option under the Contact Group tab to finally create the email group in Outlook.
Steps to Create Contact Group in Outlook for Mac
Perplexed, how do I create a email group in Outlook for Mac? Well, you need not to be. The steps stated further will let you know how to create a group email in Outlook:
- Launch the Outlook app on your Mac.
- Click on the People icon present at the bottom of the left sidebar.
- Then, go to the Home tab, and click on the New Contact List option from the toolbox.
- After that, the Contact Group window will open where you have to enter the name of your group.
- Further, in the same window, click on the Add option to include a member in your email group.
- Then, select the members from the list of contacts displayed on the screen to add them to the group.
- After you have added them all, finally create an email group in Outlook by clicking on the Save & Close option in the upper left corner of the window.
So, this is how you create a group in Outlook for Mac. However, if you are using Outlook Web App (Outlook.com) on your Mac or Windows, then also you can create email group in Outlook, but the steps for doing so are a little different, which you can know from the following section.
Creating a Contact Group in Outlook Web App
The instructions to create contact group in Outlook Web App are simpler in comparison to the processes given above. To do so, you need to access your Outlook Web account by signing into it.
So, if you want to know how to create an email group in Outlook for Web, go through the steps stated further:
- First off, launch the browser on the system, and log into your Outlook account. If you have forgotten your password, you can change your Outlook password by clicking on the Forgot Password, and then try to sign in again.
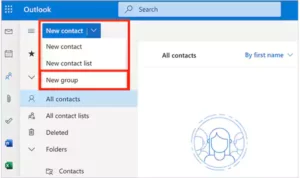
- Once your Outlook opens, click on the People icon present in the left navigation pane.
- Then, click on the down arrow next to the New Contact button, and select the New Group option.
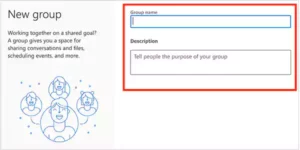
- In the window that will open, give a name to your contact group, and write a small description for it.
- In the Add Members field, type the name or email address of the contacts, and select the same.
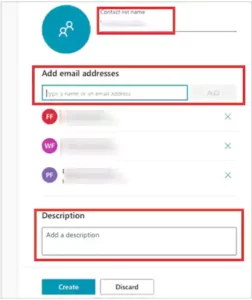
- After you have added all the members to the group, click on the Create button, and your group will be created.

If you are the owner of the group, you can find the same by clicking on the menu icon (three lines) in the top left corner, under the Groups section.
How to Make an Email Group in Office 365?
Office 365 is the latest release from Microsoft. So, if you are using it and want to know how to create contact group in Outlook inside Office 365, then the process for the same is jotted down:
- On your device, go to the https://admin.microsoft.com webpage, and log into the admin center with your work email. You can only do so if you have a work account created with Office 365.
- Click on the app launcher icon and select the Admin option.
- Next, from the left navigation pane, click on the Groups option and then select Admin.
- Click on Groups from the left navigation pane, and select the Add a Group option.
- After that, select the Distribution option in the Choose a Group Type field, and click on the Next button.
- Thereafter, you have to enter the name, description, and email alias for the email group you are creating in Outlook. You also need to specify whether you want the people outside of your organization to send emails to that group.
- Then, click on Add, and on the member’s tab, select the View All option, and manage the members added to your group.
- On the following page, click on the Add Members option, and select the people you want to add to the group. You can choose to add members from Outlook Contacts, Address Book, or manually enter their details.
- After you are done adding people to your group, click on Save and Close.
How to send an Email to a Contact Group in Outlook?
Now that you know how to set up group emails in Outlook. You may now need to know how you can send email to that group. Well, you can learn that from the instructions given below:
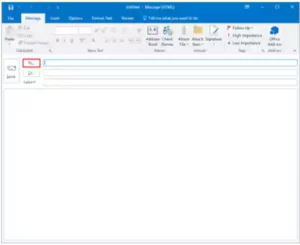
- Launch the Outlook software on your system, and click on the New Email option from the top left corner to compose a message.
- In the New Message window, click on the To button to access the Global Address List.
- Then, click on the Address Book menu and select the Contacts folder.
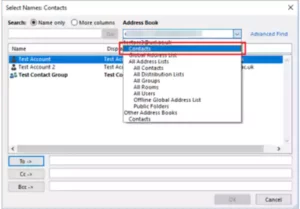
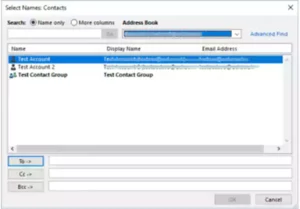
- Now, select the email group to which you want to send the email.
- After that, click on the To button. Click OK and your contacts from the email group will appear in the To field.
- Finally, type in the message and click Send.
Alternatively, you can just type the name of the group in the To field, hit Enter or double-click on the name, and then click OK. This will automatically include all the email addresses from your group in the To field.
With that said, the guide to creating an Outlook contact group ends here. Hope it was helpful!
Sources